Widget features:
- Creates documents in Google Drive
- Selecting a category for each document
- Document template constructor with substitutions from fields
- Quick jump to a document from a lead
How to use:
1️⃣ Widget connection
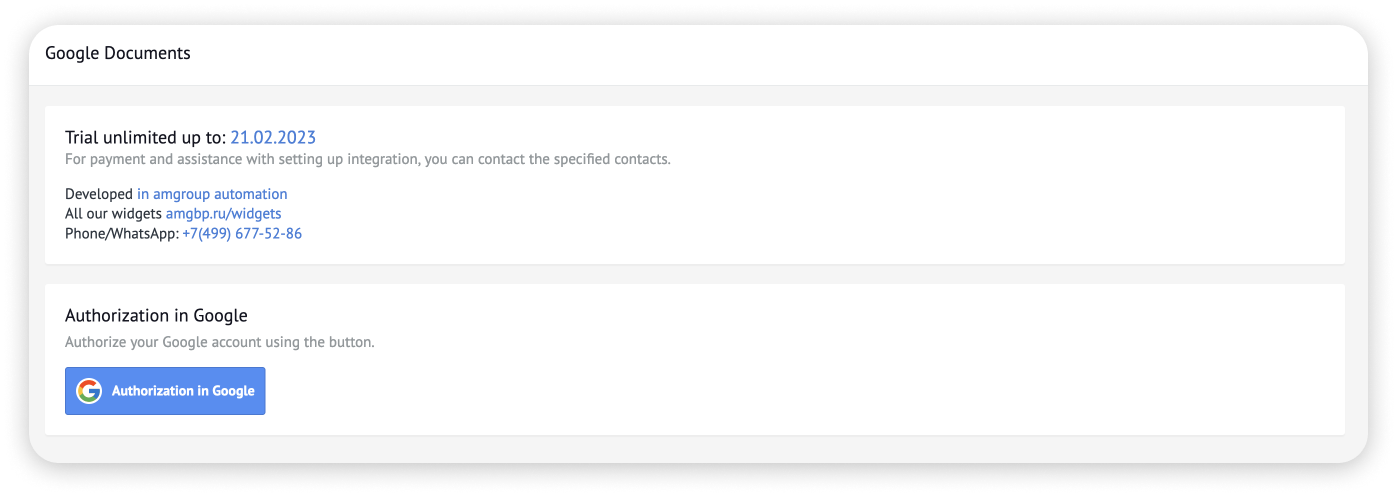
Log in to Google to get started. Click on the "Log in to Google" button in the Kommo Settings→Google Docs section. Next, grant permission for the widget to use your account to create document templates on your drive.
Log in to Google to get started. Click on the "Log in to Google" button in the Kommo Settings→Google Docs section. Next, grant permission for the widget to use your account to create document templates on your drive.

The widget has been verified by the Google team and sharing is safe for your account.
2️⃣ Document setup
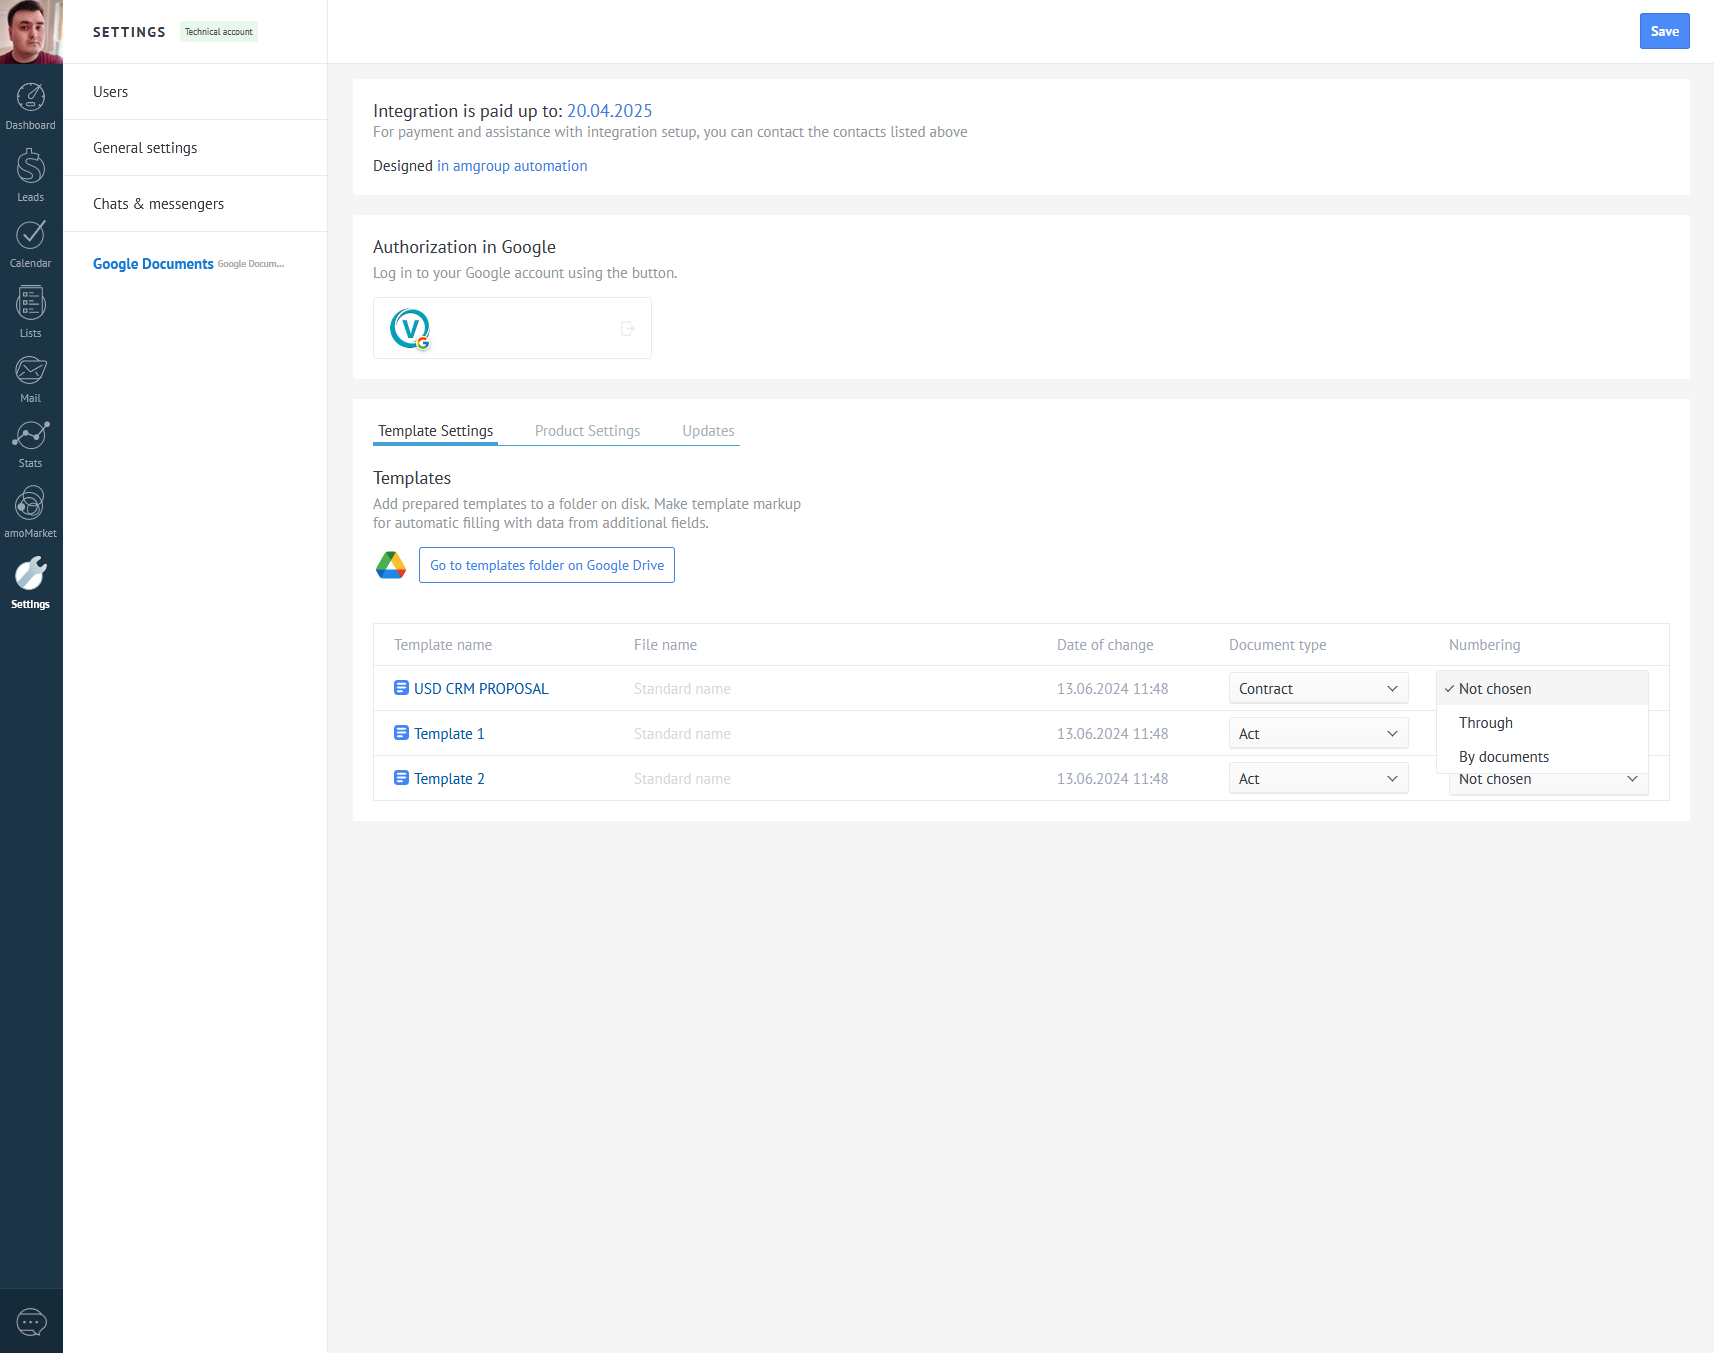
- After linking your account, a "templates" folder will be created in your Google Drive, where you can add documents.
- All added documents are displayed in Kommo under Settings→Google Docs.
- For each document, you can assign a "Document Type".
- Turn on the Continuous select option so that each new document is assigned a sequential number.

3️⃣Setting up templates
- Click on the downloaded document under Settings→Google Docs.
- A window will open in which you can edit the document and add substitutions from the list on the right. Click on the name of the field from which you want to insert data and it will automatically be added to the text. To remove a substitution, click on it in the text of the document.
- Click the sync icon next to the document title to save your changes.
4️⃣ Use of documents
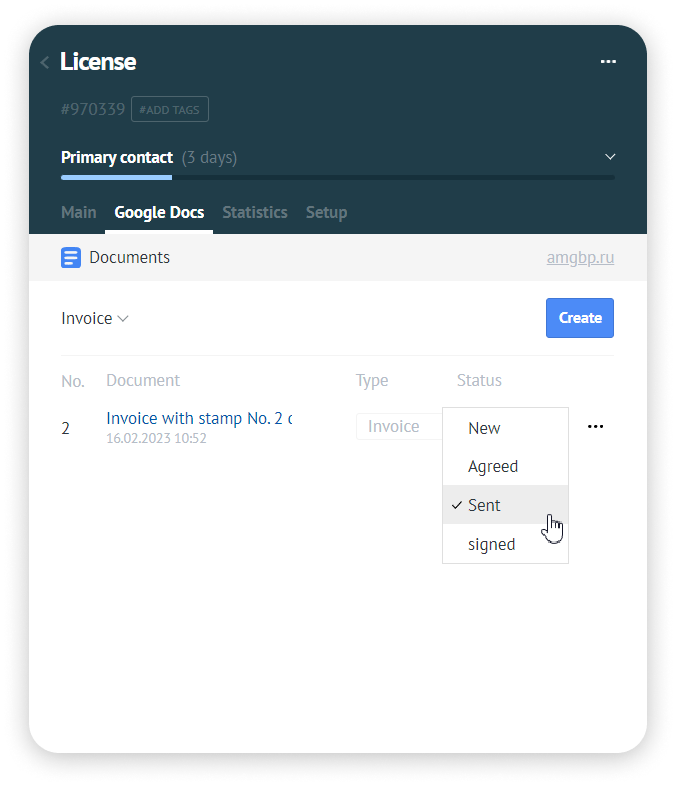
- You can find all documents related to the lead in the lead in the "Google Documents" tab.
- There is also a "Create" button that will generate a new document.
- To the right of each document, you can change the status to easily track changes for each document. To delete a document, click on the three dots to the right of the title.
- To open a document on disk, click on the document name.

5️⃣ Document numbering
There are 3 types of numbering supported for each type of document.
There are 3 types of numbering supported for each type of document.
- 1. By default (the "No chozen" option) - the numbering will increase within each lead and document type. Example, in lead 1, 3 identical document types will be created, all these documents will have a number different by 1 from the previous one. I.e. Document 1, Document 2, Document 3, and so on
- Through numbering (item "Through") - numbering will take into account previously created documents of this type regardless of leads i.e. if we created a document in one leads, it will have number 1, in another lead, we created 2 documents, they will have numbers 2 and 3, in the third we made another document, He will have the number 4
- By documents (the paragraph of the same name) - the numbering depends on the other document and the company of the lead.

6️⃣ Product Table Settings
It is possible to display the table of goods from the lead in the body of the document, using the placeholder {{Product.Table}} which, after conversion, turns into a full-fledged table, which we can see as a preview on the widget settings page, in the "Product Settings" section. Switching between certain parameters visually displays the actual changes in the final table using the example of demo data. Calculations when VAT or discount is turned on/off do not occur within the framework of the demonstration, only the examples of columns are shown/hidden
It is possible to display the table of goods from the lead in the body of the document, using the placeholder {{Product.Table}} which, after conversion, turns into a full-fledged table, which we can see as a preview on the widget settings page, in the "Product Settings" section. Switching between certain parameters visually displays the actual changes in the final table using the example of demo data. Calculations when VAT or discount is turned on/off do not occur within the framework of the demonstration, only the examples of columns are shown/hidden
7️⃣ Document Type Settings
To change or delete the current document types, you need to go to the Kommo catalog - "Document Types" and you can perform manipulations there, after which they will be pulled up as current types in the Google Documents catalog and will be available for selection in the settings in an updated form
❗️ It is important to know that you will not be able to use a document without a type, so if you deleted the document type that was used, you must necessarily assign a new type, otherwise you will not be able to generate documents.
To create new document types, you can use the method from the paragraph above, go to the "Document Types" directory and create a type. But there is also a simpler option, when choosing the type for the template, there is an item at the very bottom of the list "+ Create a new type", clicking on it will open a modal window with a suggestion to enter the name of the new type, after which the type will be created and substituted for the template in which you initiated the document creation process (do not forget to save the settings)
Install this widget for a free 7-day-trial from Integrations sections at Kommo:
1.Go to Kommo
2.Settings → Integrations
3.Type Google Documents by amgroup in search bar
4.Choose a widget
5.Fill in a form and click Free 7-Day Trial button
The free 7-day trial period for your account will start automatically.
1.Go to Kommo
2.Settings → Integrations
3.Type Google Documents by amgroup in search bar
4.Choose a widget
5.Fill in a form and click Free 7-Day Trial button
The free 7-day trial period for your account will start automatically.
Widget cost:
$119 USD /6 month
$199 USD /1 year
$119 USD /6 month
$199 USD /1 year